2024 AC Installation: Expert Tips for Air Cond Installation & AC Fitting. Find an AC installation technician near me with techniques for a smooth setup
Table of Contents
Discover the essential 11-step guide to AC installation and AC Fitting
As the summer heat intensifies, the demand for air conditioning installation grows. However, the installation process is more than simply placing a unit. It requires meticulous planning, precise execution, and attention to detail to ensure optimal performance and longevity of your cooling system. Nowadays, with incidents of AC blasts increasing in India due to excessive heat, proper AC fitting and installation are crucial to ensure safety and efficiency. Here’s a detailed 11-step guide to AC installation that covers everything you need to know for a seamless setup:
Selecting the Right Location for Split AC Indoor Unit Placement
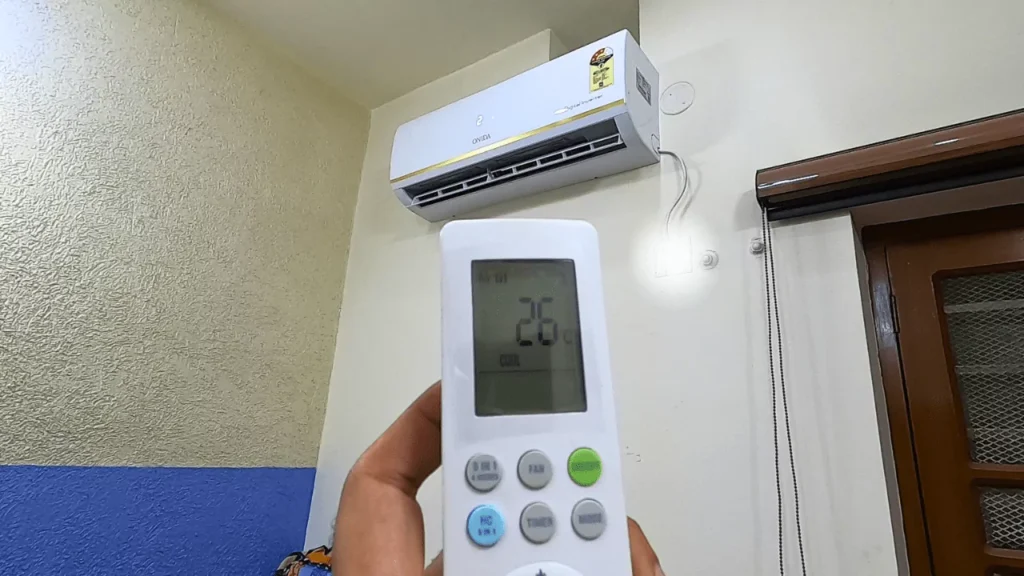
Selecting the right location for the indoor unit of a split air conditioning (AC) system is crucial for its efficient operation. The indoor unit should be mounted on a sturdy, flat wall surface that can support its weight and ensure stability. It’s important to choose a location where the back of the indoor unit is flat and free from any hollow spaces. This ensures that the unit can draw in air only not any sought of dirt and thus, distribute air effectively without any hindrance. Position the indoor unit away from direct sunlight and heat sources to prevent interference with its cooling capacity.
Ideally, it should be installed at a height of 6 to 8 feet above the floor to facilitate optimal airflow and even distribution of cooled air throughout the room. By carefully selecting and preparing the installation location for the indoor unit, you can maximize the efficiency and performance of your split AC system.
Step 1. Drilling Drainage Hole and Installing the Mounting Bracket
When drilling a drainage hole for a split AC system, it’s crucial to select a location near the bottom of the indoor unit to facilitate efficient water drainage. Ensure the hole is of the appropriate size according to the manufacturer’s specifications to prevent leaks and blockages. Drill the hole at a slight downward angle towards the outside to promote smooth water flow and prevent water from accumulating inside the unit.
Applying a waterproof sealant around the hole is essential to maintain a tight seal and prevent any water from leaking into the wall. Keep the area around the hole clear of debris to ensure unobstructed drainage, and ensure the location allows for easy access for future maintenance. After completing the drilling process, remember to clean the wall and surrounding area with a cloth to remove any dust or debris that may have accumulated during drilling. Following these steps will help ensure effective water management and contribute to the longevity of your AC unit.
Installing the mounting bracket for a split inverter AC involves selecting a suitable wall location and ensuring correct placement with the help of a spirit level to avoid future issues like water leakage due to improper alignment. After marking and drilling holes, insert anchors and secure the bracket firmly with screws. Verify stability by checking for any movement. This meticulous installation process ensures the bracket provides stable support, contributing to the long-term optimal performance of your split inverter AC system.
Step 2: Connecting Wires to the Indoor Unit for Outdoor Unit Supply
Before placing the indoor unit to the mounting bracket, we must connect wires to the indoor unit that will pass through the drilled hole in the wall and they will get connected to the outer unit. keep the connections accurate as wrong connection may result in error code and even the short-circuit in worst case scenario.
Step 3: Mounting the Indoor Unit (for Split ACs)
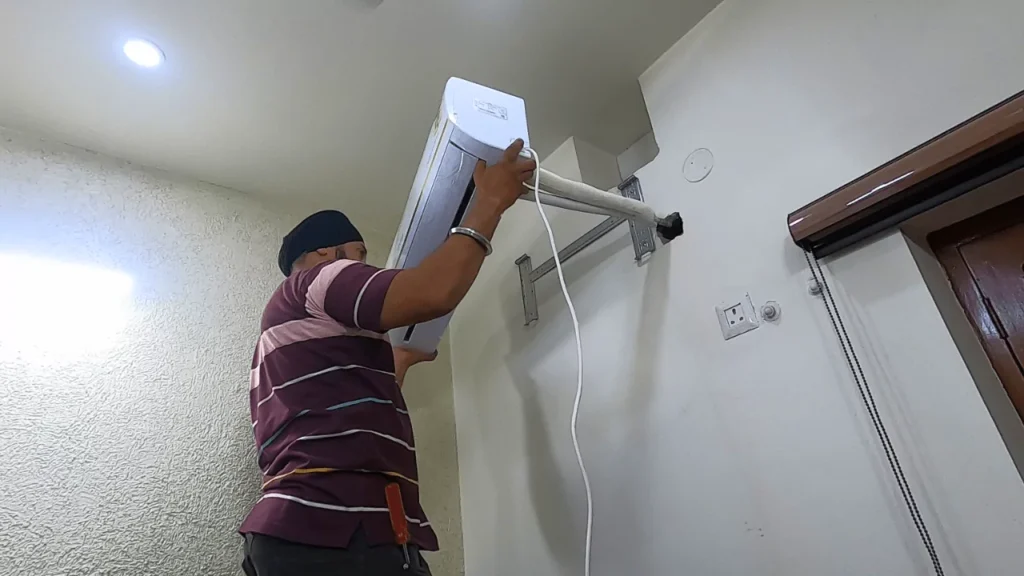
Now, After securely installing the mounting bracket, and connecting Wires to the Indoor Unit for Outdoor Unit Supply, the indoor unit can be mounted onto it. It is important to ensure the unit is level and firmly fastened to the bracket. Using a spirit level during installation is recommended to achieve perfect horizontal alignment, which is essential for optimal performance.
Step 4: Installing the Mounting Bracket for outdoor Unit and Outdoor Unit Fixing
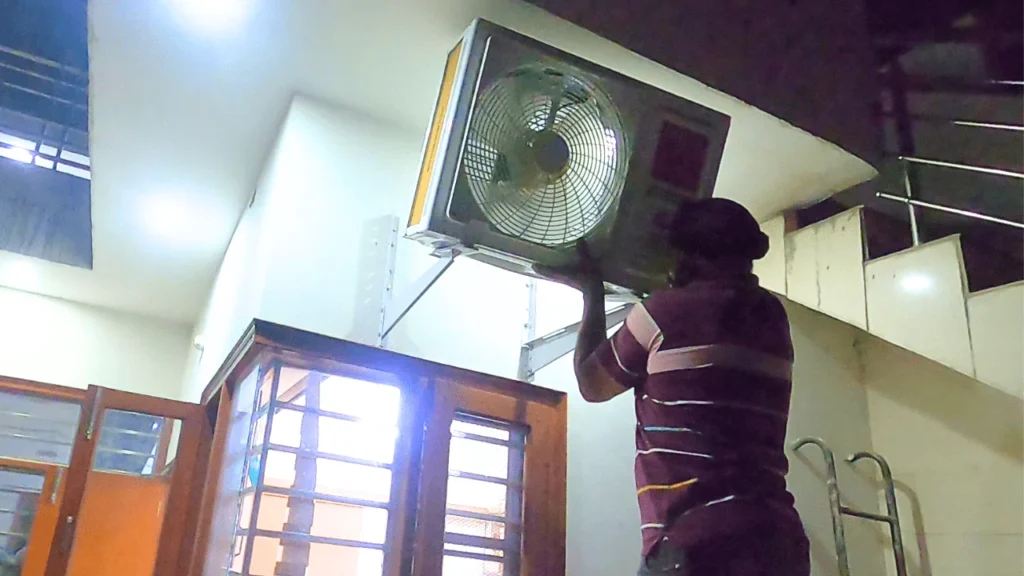
When installing the outdoor unit, several critical considerations ensure its optimal performance and longevity. Begin by selecting a suitable location for the mounting bracket, taking into account structural integrity, accessibility, and clearance. It’s essential to leave an 8-inch space between the unit and the wall to allow for proper heat dissipation from the condenser coil during operation, which enhances overall efficiency. Additionally, provide adequate clearance above the AC unit to facilitate proper ventilation, preventing overheating and promoting smooth operation that extends the unit’s lifespan and reduces the risk of malfunctions.
Finally, tighten all anchoring fasteners properly to the wall to securely hold the unit in place and minimize vibration or movement that could impact its durability and efficiency. These meticulous installation practices ensure the outdoor unit operates effectively and reliably in various weather conditions, maintaining comfort and energy efficiency in your space.
Step 5: Flaring Copper Pipes: Crucial Step in AC Installation
Increasing the flare of AC pipes requires using a specialized tool to widen the pipe openings where they connect to fittings. This process is essential for establishing secure, leak-free connections that uphold the integrity of system pressure and reduce the risk of refrigerant leaks. Following manufacturer specifications ensures that the flaring creates smooth transitions, which ultimately enhances the reliability and efficiency of the air conditioning system.
To perform this task effectively, it’s crucial to employ a suitable flaring tool designed for AC pipes. This tool allows for precise shaping of the flare, ensuring optimal angles and sizes that promote tight connections. After completing the flaring process, conduct a thorough inspection to identify any defects that could compromise performance. Throughout the entire operation, prioritize safety measures to prevent accidents and ensure the consistent and dependable operation of your air conditioning system.
Step 6: Connecting Indoor Unit Pipes with the Outdoor Unit
Connecting indoor unit pipes to the outdoor unit of a split AC requires careful steps to ensure proper functionality and prevent damage. Start by releasing air pressure from the indoor unit pipes. Handle the pipes gently during connection to avoid bending or kinking, which can restrict refrigerant flow and harm system efficiency. Avoid excessive force that could distort or damage the pipes. Secure connections firmly without over-tightening to prevent leaks. These steps safeguard the AC’s performance and longevity.
Step 7: Vacuuming Your Split AC System
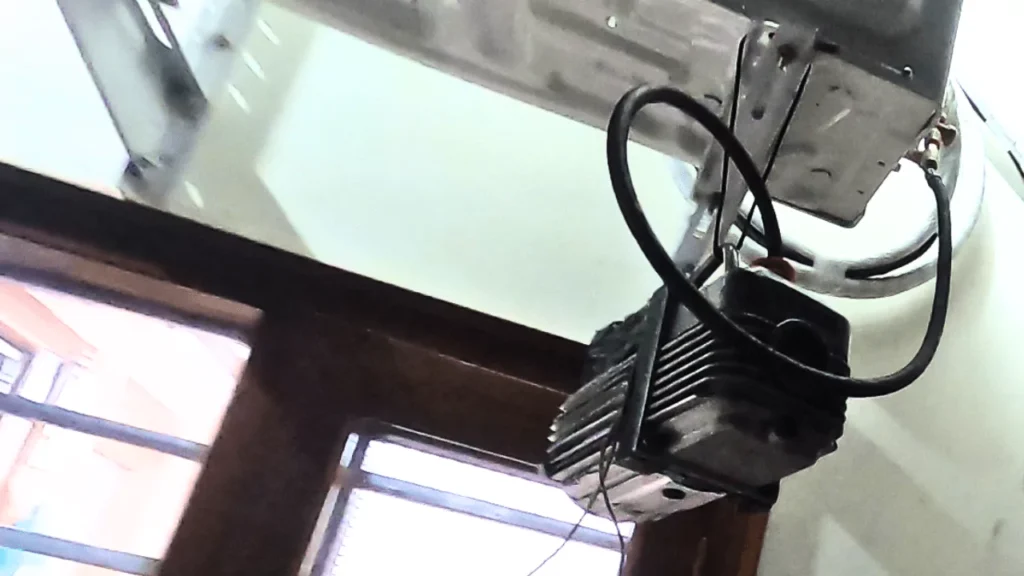
After connecting the indoor and outdoor unit pipes of a split AC, the next crucial step is vacuuming the system. This process removes air and moisture that may have entered during installation, ensuring optimal efficiency and performance. Use a vacuum pump connected to the outdoor unit’s service valves to create a vacuum inside the system. Run the pump for 15-30 minutes, Vacuuming is essential to maintain the AC’s reliability and efficiency by eliminating contaminants.
Step 8: Connecting the Electrical Wiring of Indoor and Outdoor unit
After physically installing the indoor and outdoor units of your split AC system and connecting the refrigerant lines, the next critical step is wiring them electrically. Begin by ensuring the power to the AC system is off at the breaker box for safety. Refer to the manufacturer’s manual for specific wiring diagrams and instructions, as configurations can vary. Identify and connect the electrical ports on both units as per the guidelines provided. This step ensures proper operation and communication between the AC components, essential for efficient performance.
Step 9: Release the Gas and Check for any Leakage
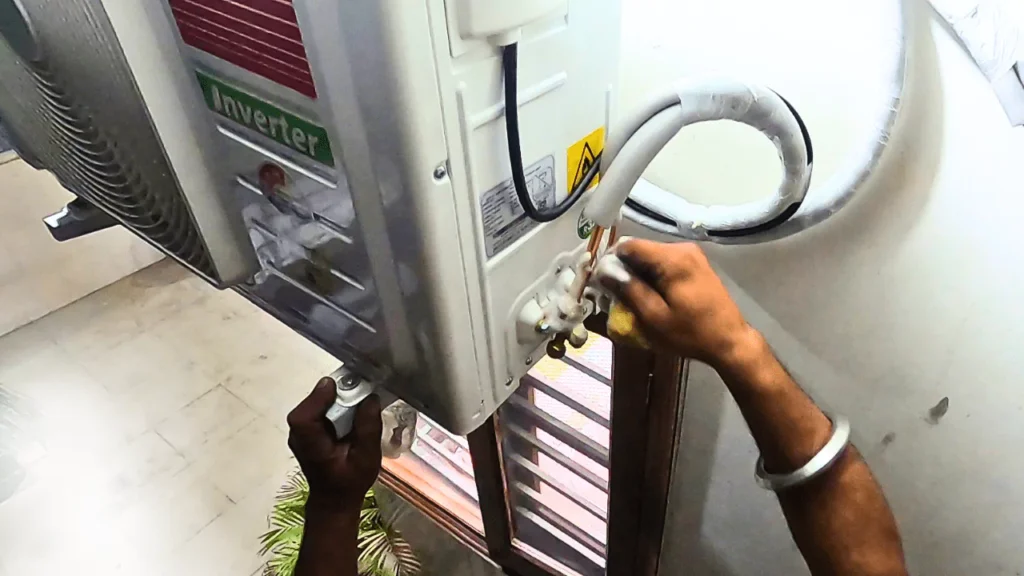
After connecting the electrical wiring between the indoor and outdoor units of your split AC system, the next step is releasing refrigerant into the system and checking for leaks. Connect the manifold gauge set to the outdoor unit’s service valves and slowly open the valve on the refrigerant cylinder to introduce the gas at the correct pressure. Monitor the gauges for proper levels and simultaneously inspect all connections for leaks using a detector or solution. Address any leaks promptly to ensure efficient operation and system longevity. Once complete, secure the valves to finalize the process. This ensures your AC system operates efficiently with minimal environmental impact.
Step 10: Sealing and Mounting the Drainage Pipe
Once refrigerant charging and leak checks are done, the next step is to seal any gaps around the drainage pipe using appropriate sealant. Ensure the pipe is mounted downward to allow efficient drainage of condensate water. This prevents water accumulation inside the unit, ensuring optimal operation and extending the AC system’s lifespan.
Step 11: Testing Indoor Unit Airflow
Now, switch on the AC system i.e., the indoor unit in cooling mode, and adjust the thermostat settings. Check airflow by feeling near the vents for strong, consistent air. Use a thermometer to verify the air temperature matches the thermostat setting. Listen for any unusual noises or odors during operation and adjust fan settings if airflow or temperature isn’t optimal. This testing ensures the indoor unit functions efficiently, delivering reliable cooling and comfort.
The process of Split AC installation is same for every kind of Split AC, even if it would be a Smart AC.
FAQ
How much does it cost to install a split system air conditioner?
In India, installing a split system air conditioner typically costs between ₹1500 to ₹2000 in 2024, depending on the unit’s size and installation complexity. Prices can vary based on local labor rates and specific installation requirements.
Can I install a split AC unit myself?
No, installing a split AC unit yourself is not recommended. It requires specialized skills and knowledge to handle refrigerant, electrical wiring, and ensure proper installation, which are best handled by a qualified technician.
Does split AC need hole in wall?
Yes, a split AC system requires a small hole in the wall to accommodate the refrigerant pipes, electrical wiring, and drainage hose between the indoor and outdoor units. This hole is essential for the proper installation and operation of the system.
Can we split AC in 2 rooms?
Yes, it’s possible to use a single indoor unit and a single outdoor unit of a split AC system to cool two adjacent rooms. This can be achieved by positioning the indoor unit centrally between the two rooms and using appropriate ducting or air distribution techniques to ensure even cooling in both spaces.

